Introduction
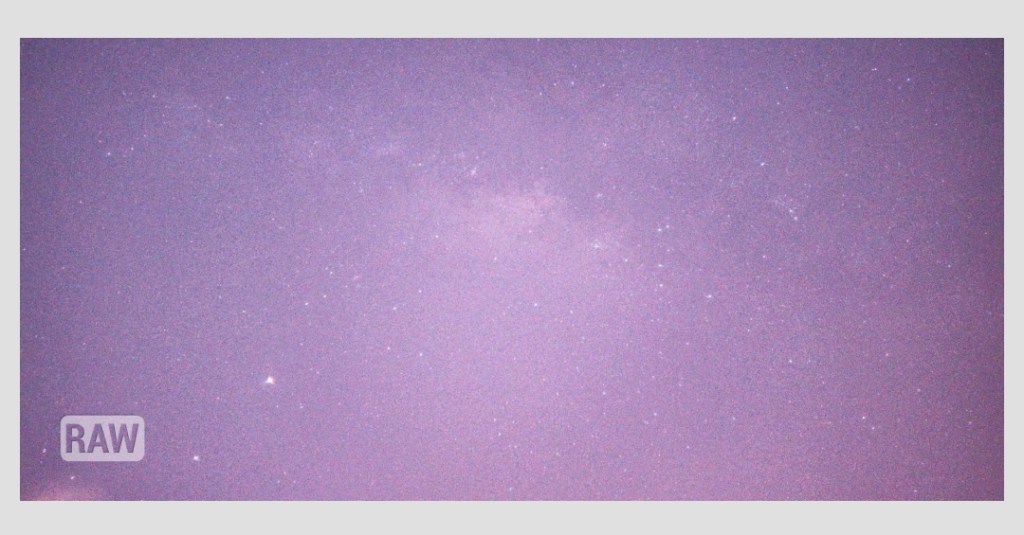
During the circuit breaker period, I couldn’t do much so I spent nights stargazing and spotting planets with my telescope on my rooftop. At the same time, I also wanted to experiment and see whether it was possible to photograph the milky way with my phone (I didn’t know how to use a camera anyway). So I spent months playing around with a few camera settings, and shooting at the plain black sky in the hopes of being able to capture the Milky Way. Most of them were unsuccessful – until recently. Just last night I managed to capture this and it was my most successful one yet.

If you’re curious, here’s a guide on how this was possible with my mobile phone. Most of the tips here are mobile-phone oriented – do note that their camera sensors/lenses are different in comparison with DSLR/professional cameras. However, if you’re planning on using a DSLR /professional camera to do so, feel free to follow. There’ll be three main sections in this guide: Prerequisites, Shooting, and Editing.
Prerequisites
Before shooting, there are two things that you have to consider and fulfil:
- Equipment
- Environment
If you don’t satisfy these requirements, it would be highly likely you’re not going to get a good shot.
Equipment
Mobile Phone
Camera Application & Capability
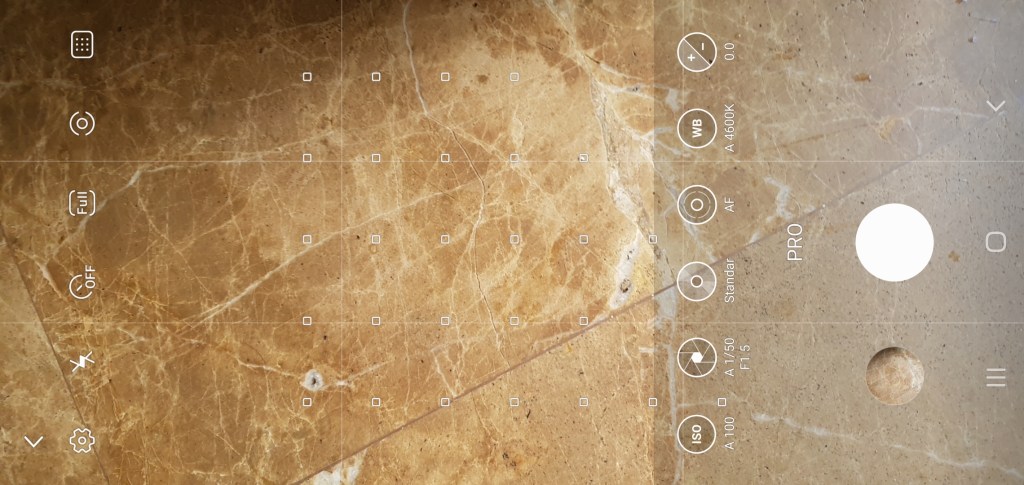
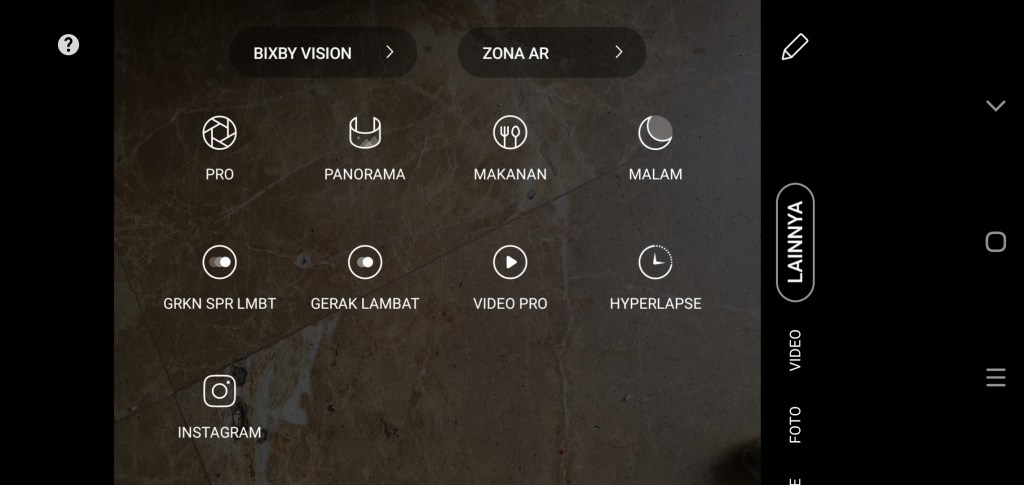
Your mobile phone needs to have the “Pro” or “Manual” mode/option in your native camera application. This is the camera mode which allows you to manually set settings such as autofocus, ISO, and shutter speed.
If your mobile phone doesn’t have this option, there are third-party applications that will enable you access to these features. You can do your own research or refer to some guides here that I quickly Googled:
I must warn you however, that if your phone doesn’t already have the “Pro” or “Manual” mode in its native camera application, it would be likely that your phone’s camera/sensor isn’t designed to take manual photos. Your photos may not turn out as good as it should be, but it’s worth a shot to use a third-party application if you’re willing to try out.
Shoot in RAW
Next, your camera should be able to shoot in RAW format or save a RAW copy of your photo. RAW format essentially an uncompressed version of the image file – basically the RAW format stores more “information” of the photo you took so that you’ll be able to do wonders in your editing process.
In most phones, you would have to go to your camera settings and dig for the RAW copy option, and enable that.

If you do not have this option however, it would still be okay – just that your editing process will either be frustrating/time-consuming or you won’t get results as good as you would have with a RAW image.
Editing Application
You won’t be able to see the Milky Way clearly off from your camera. That’s why some editing is required. The photo-editing application I highly recommend is Snapseed. It’s the one application that I know of where you are able to edit RAW files for free. On top of that, there are a whole lot of settings that you are able to play with. Here are links to Snapseed’s application pages:
However, if Snapseed isn’t available to you, you can look for other applications that would be able to do the job for you.
Tripod
In order to shoot the Milky Way, a tripod is essential. You’ll be shooting long exposure shots (we’ll get to that in a minute) – so if your camera is wobbling around like a drunkard in Prinsep Street then your camera would also produce results like what a drunkard in Prinsep Street would see as well (I’m not kidding). Therefore, you’ll definitely need a tripod or a stable area where you phone is guaranteed not to shake or move.
That’s it for equipment.
Environment
Even though I had all the equipment, the main reason why I took months to take a decent shot of the Milky Way was because of the environmental conditions. Environmental conditions here are broken down to three segments:
- Cloud Cover
- Light Pollution & Location
- Moon Phase
All three of these are important factors in ensuring a good shot of the Milky Way. Given Singapore’s environment, the slightest variation can throw the entire thing off.
Cloud Cover
Clouds can do either of these two things; reflect light pollution, or obstruct your shot. Therefore, it would be ideal if there were to be close to 0% cloud cover on the night of your shoot. It would be ideal to refer to weather forecasts and cloud cover forecasts before deciding whether you intend to shoot that night. Personally, I refer to AccuWeather’s satellite images for visible clouds.
On top of that, in your editing process, there are three types of clouds that you would have to be weary about; low clouds, medium clouds, and high clouds. Sometimes, you’ll mistake some of these clouds (especially high clouds) to be the Milky Way itself (and we’ll get to that at the end).
Light Pollution & Location
Well, Singapore isn’t exactly the best place for stargazing. Given that almost the entire island is urbanized, light pollution is a nuisance when it comes to astronomy-related activities. Here’s a snippet of how bad light pollution is in Singapore from Light Pollution Map.
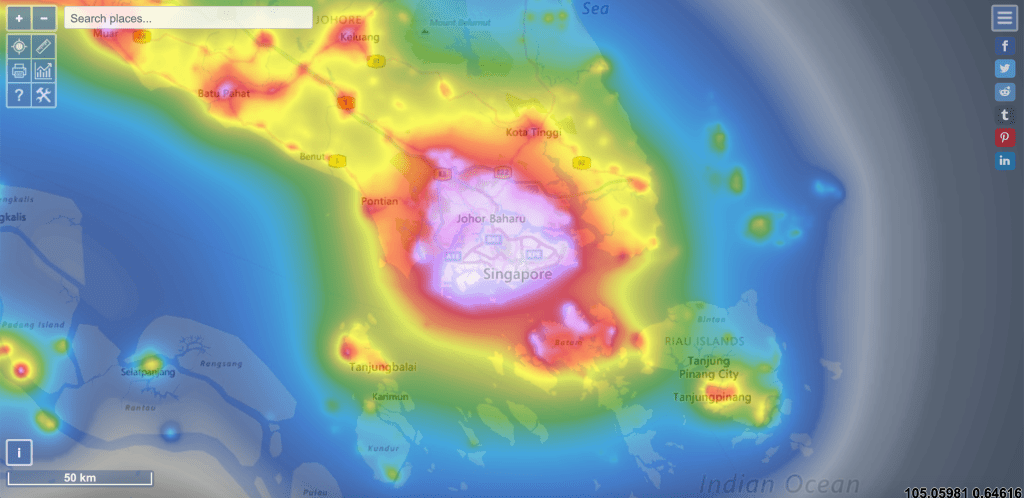
Despite this, there are actually places in Singapore which are less light-polluted. Examples would include remote areas in Central Singapore, far reaches of Western Singapore, and the coastal areas in the East. For me, I’m quite lucky to be living in an area where there is relatively less light pollution so I did all of my shots from home.
Once you’ve identified an ideal area where you want to shoot, you can head over there once you think weather forecasts are good. Also, do ensure that the Milky Way’s location is away from a light-polluted area (tips on how to locate the Milky Way will be given later on).
As a general tip, the sky doesn’t have to be totally dark – that is impossible in Singapore. As long as you are able to notice key Star Constellations, then you’re in a good spot.
Moon Phase
Another source of light pollution that people tend to forget is the moon. It would be best if the moon isn’t above the horizon, or is within the new moon phase, or is away from the Milky Way’s visible location. Here’s a useful website where you can predict the moon’s visibility and phase.
That’s it for the prerequisite phase. It’s quite a lot to take in, isn’t it? We still have two sections to go.
Shooting
Locating the Milky Way
Locating the Milky Way is easy nowadays. There are loads of tools and applications available to you to locate the Milky Way. I do highly recommend an application called SkyView. You’re able to search for the Milky Way core and it will automatically direct you to it. Here are the download links for the application:
Otherwise, you can use the old fashioned way and locate the Milky Way core by looking for the intersection between the Star Constellations Sagittarius and Scorpius. You can use Time and Date to help you locate these constellations.
As I mentioned previously in the light pollution section, as long as you’re able to locate key Star Constellations, and verify that these are the correct Star Constellations, you should be good to go.
Camera Settings
Back to the camera’s Pro/Manual mode, you’ll have the ability to edit the focus, ISO, and shutter speed. These are the main three options that you’re only going to play with.
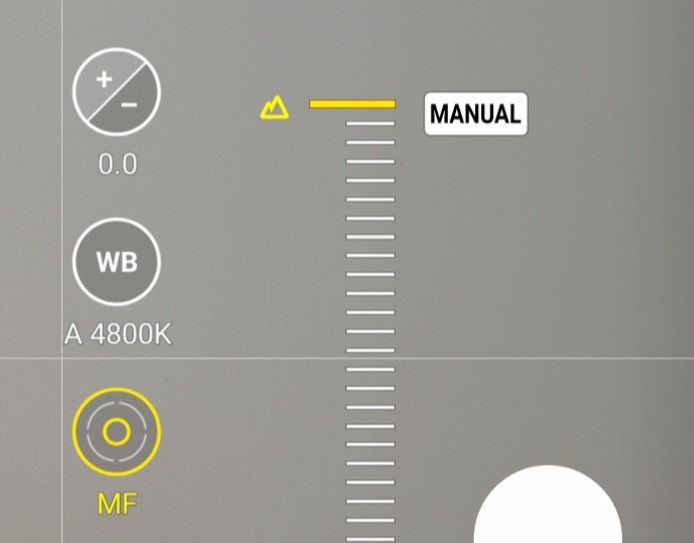
For manual focus, it’s pretty easy and you won’t have to touch it any longer. All you have to do is to push the focus all the way up. Since the Milky Way is a distant object, the focus has to be distant as well.
Next comes the tricky part. We start with shutter speed first. Alternatively, you can also call this the “exposure time.” Essentially, shutter speed determines how long your camera’s sensor is exposed to light to produce a photo. This is why having a tripod is important because if you’re moving about then you’ll either have a blank-white photo or a blurry photo.
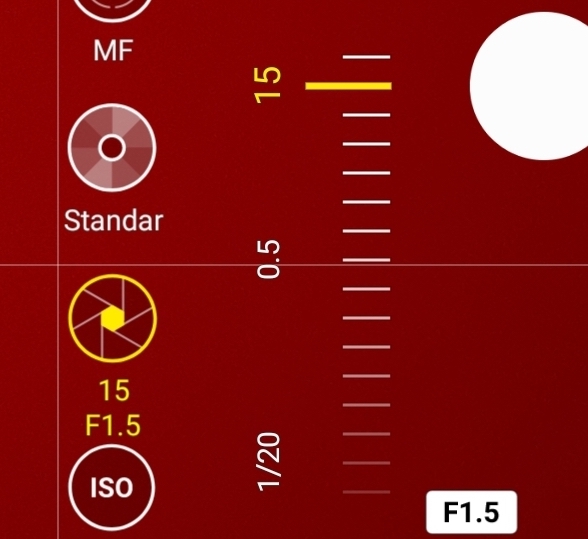
As a rough guide, I recommend that you stick to a shutter speed of 15 seconds. This was the shutter speed I used for most of my shots and it turned out okay. However, do feel free to switch/experiment between 10 seconds and 20 seconds. These are like the sweet spots when it comes to taking shots of the Milky Way. However, I do find that 10 seconds is not enough (since not enough light from the Milky Way is captured) and anything above 20 seconds would cause blurry shots (this is largely due to the Earth’s rotation). That’s why I found 15 seconds to be the sweet spot.
Next comes the ISO. If you have a lot of time on your hands, then I suggest to try every option from 3200 ISO all the way down to 50 ISO. That way, you can pick the best shots for editing. However, if you don’t have the luxury of time, I would say that the sweet spot for the Milky Way would be around 500 ISO – 800 ISO. Yes, it’s a pretty low ISO especially for DSLR standards, but so far, this has been the best in a light-polluted environment for a mobile phone.
Results
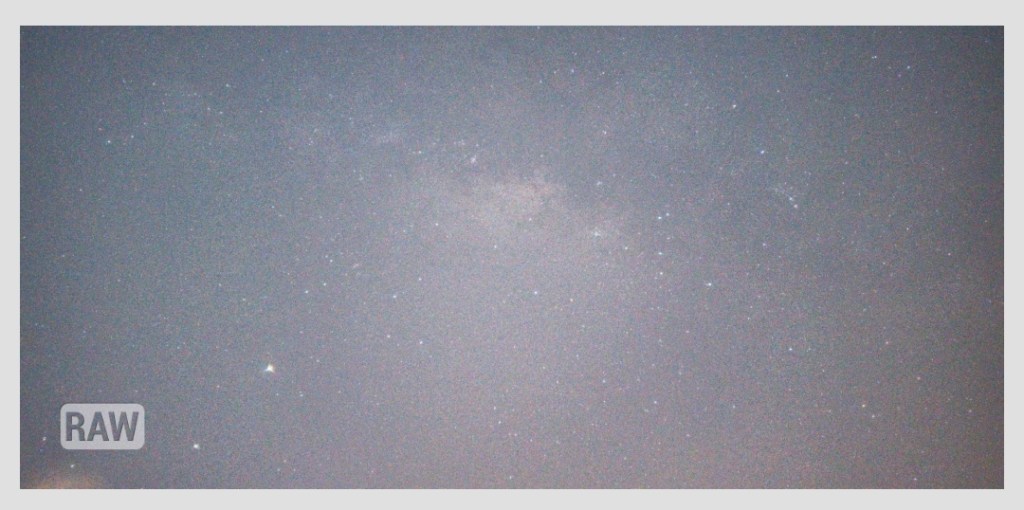
In an ideal setting, your results should look something like this (all photos are at 15 seconds exposure time and their respective ISOs have been noted in their captions):

3200 ISO 
1600 ISO 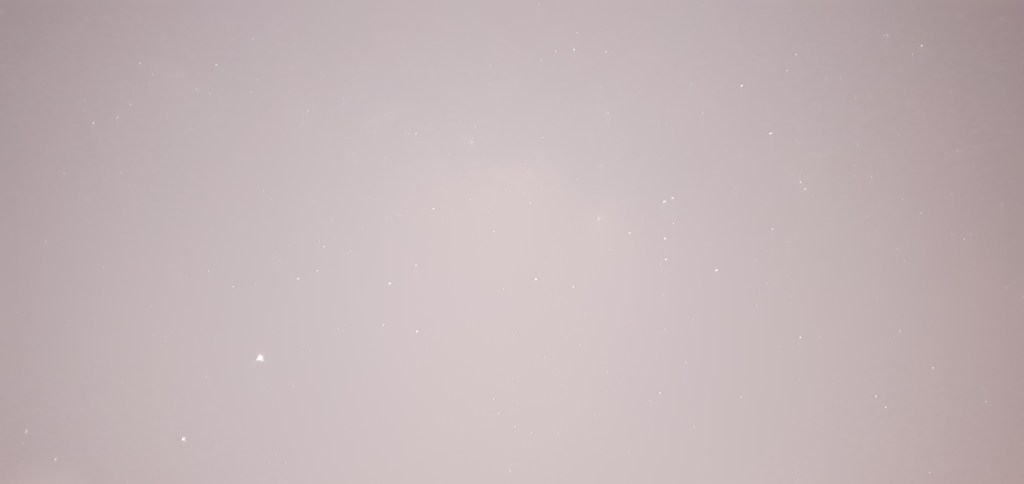
800 ISO 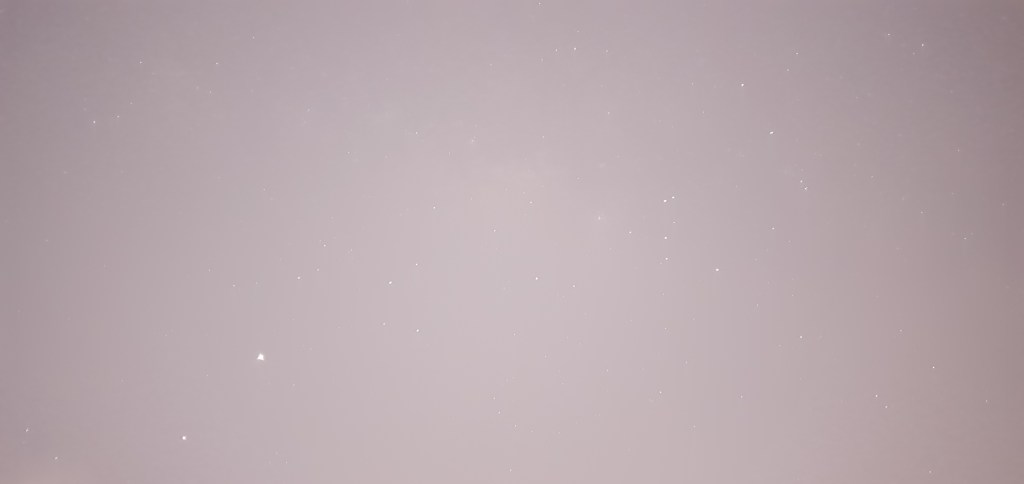
640 ISO 
500 ISO 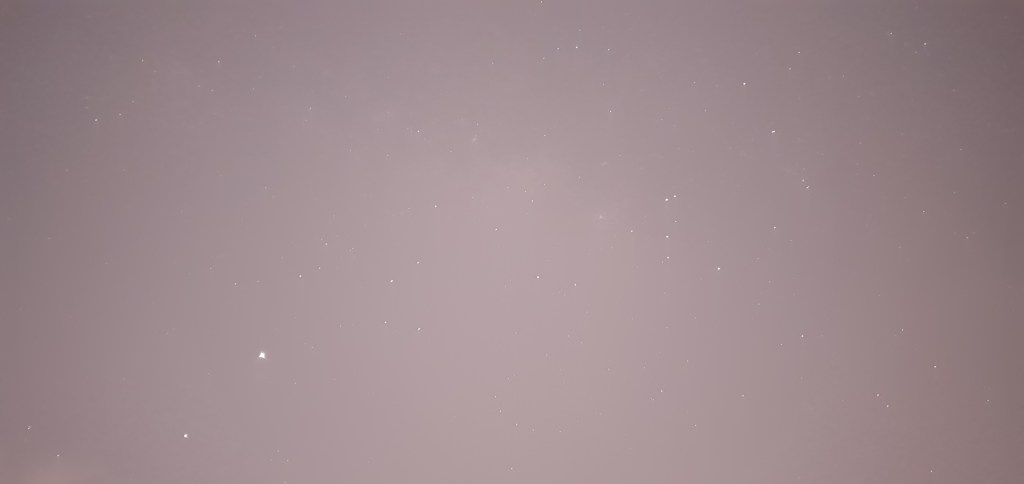
400 ISO 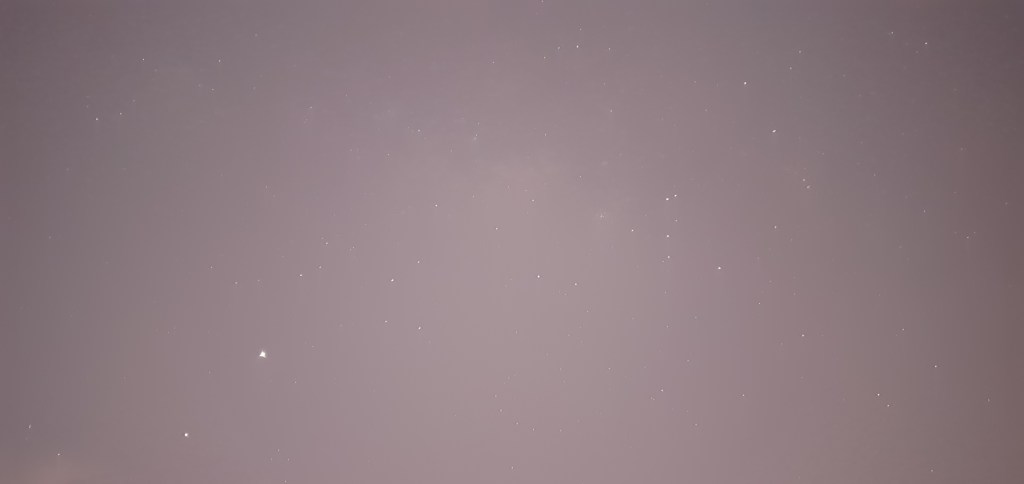
320 ISO 
250 ISO 
200 ISO 
160 ISO 
125 ISO 
100 ISO 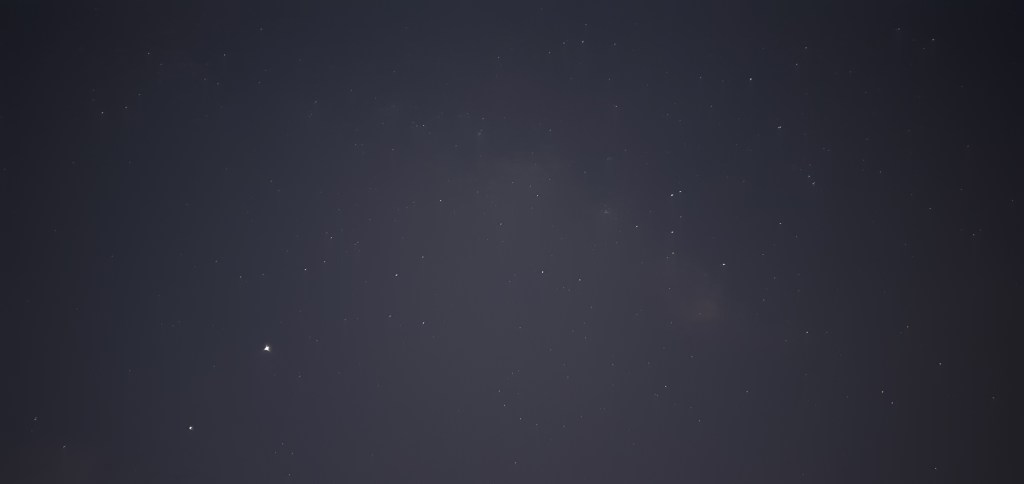
80 ISO 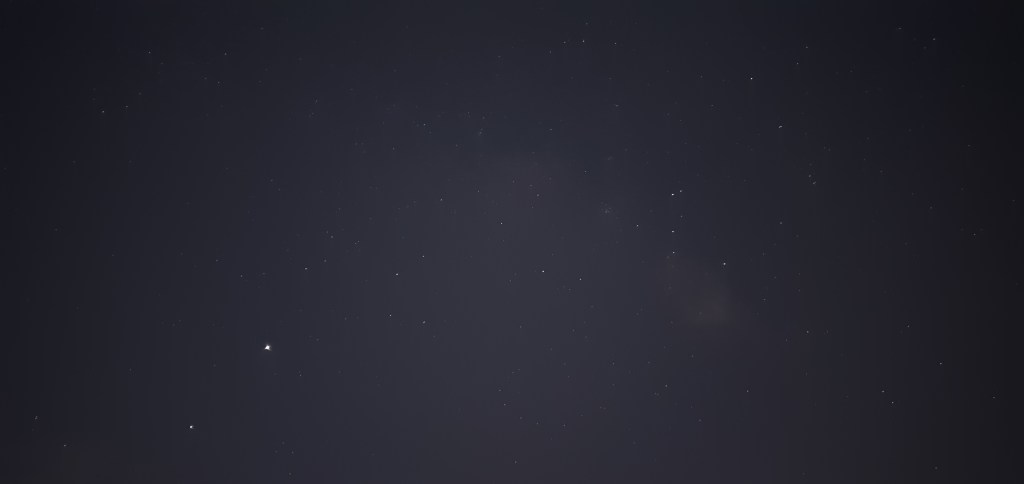
64 ISO 
50 ISO
In some shots, you are able to see a hint of the Milky Way, in some shots you don’t, but generally, none of these shots will have a clear shot of the Milky Way. This is where editing comes in to bring out the details of the Milky Way.
Editing
First part of editing would be to pick the best photo. In this case, I went with the 800 ISO one. As a general guide, pick the “brightest” but not “glaring” photo. If you were to refer to the gallery above, you would be able to understand what I mean. Once you have picked a photo be sure to export/share the RAW/DNG version of your photo to your photo editing application. However, if you don’t have the RAW version then bo pian.
First thing’s first. Once you have imported the photo into your photo-editing application, decrease the exposure by a notch or until you’re comfortable. Don’t decrease it too far down. In some cases, you’ll be able to see a hint of the Milky Way, in some cases you aren’t able to.

The next thing that you would want to do is to increase the Structure/Clarity. This is where you are able to bring out the details of the Milky Way and make it visible where it wasn’t previously. For this, you would also not want to increase it too much; otherwise your photo would look very grainy.

Next would be color correction. For this, you would have to play with the Saturation, Temperature, and Tint options.
First, boost up Saturation all the way to +100. Yes, I know, it’ll look terrible.
Next, adjust the Temperature until you achieve a general “purple look” somewhere between blue and red.
Next adjust the Tint until you get a “plain look”
Finally, decrease Saturation to 0.
Once you’ve done the necessary adjustments, you can press done and import the processed RAW file for further edits. Feel free to do whatever you need to to bring out the details of the Milky Way to your preference. However, a suggestion that I would recommend is to go over Curves and to pull down the RGB Curve in the middle to really bring out the Milky Way to prominence.

Once you’re happy with all of your edits, that’s it!

If you do have any questions, do feel free to let me know!
